Just reminding that for costume making I will be following the tudor costume page fairly slavishly and begging advice from k at deependers on materials suitability and nearer the time costume elves [!] for the difficult bits [ie kirtle bodice ] I am currently not a re-enactor, but have visited Kentwell [see preamble] and we are really keen as a family to join the tudors. I plan to make a shift and petticoat for each of us girls, a shift for DH by Xmas. This is also a good site to read up on what to do. Other people I know have found the mediaeval tailors assistant to be really helpful for shifts, or the tudor tailor.
This means that the steps detailed here are not originating from my brain, but the tudor costume makers, though some of the mistakes and how to avoid unfortunately did :blush: .
NB Anyone thinking of making clothes for re-enactment, please check with your group the ‘rules’ on materials, colours and look. different tudor years have different styles – tho less so for poor, especially poor kids. following these notes does not guarentee acceptance of clothing by Kentwell or any other group, but may help a total novice such as myself. I had never made any clothes before these – a hint of my novicitude. Also, with shifts there are a variety of neck finishes – square, simple or collared and cuffed – potentially with ruffles. You might need to know which youa re expected to do. otherwise, you could go as far as making the neckline bit and then wait until you do know. I wrote this initially in Sept 2011, but have added in the things that had I had known I would have done differently – mostly in italics ![]() . however, the clothing was passed for Kentwel 1556 . i have also been told that a run and fell or a french seam would be stronger for shift seams, but is a bit beyond me, and the seams of my shifts did hold
. however, the clothing was passed for Kentwel 1556 . i have also been told that a run and fell or a french seam would be stronger for shift seams, but is a bit beyond me, and the seams of my shifts did hold ![]()
First shift – BB’s child’s shift
Materials and Measuring
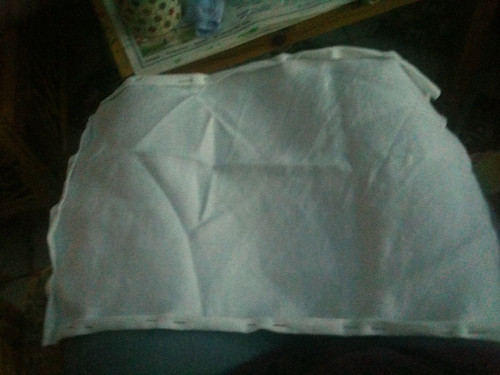
I am using a 100% irish linen in white rather than unbleached. This is what i could find that was 100% linen in the affordable range. Apparently unbleached goes whiter and whiter with use. These are going to be therefore much used shifts ![]() it has been hot washed 2ce and dried, so shouldn’t be more shrinkage [I hope!] It is not at all bluey in real life, even if it does looks so on photos. Hot washing does shrink the weave and tightens it. Ivory white for lower classes or natural is probably better than whitey white.
it has been hot washed 2ce and dried, so shouldn’t be more shrinkage [I hope!] It is not at all bluey in real life, even if it does looks so on photos. Hot washing does shrink the weave and tightens it. Ivory white for lower classes or natural is probably better than whitey white.
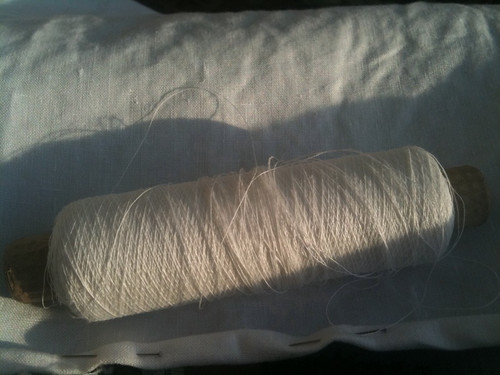
having been to a reenactment recently, I picked up some linen thread, a white 2 ply and an unbleached 3ply. I am using the 2 ply for hemming and the 3ply for whipstitching.
I measured up using the Tudor costume page to BB’s mid shin – 30″ and around her chest and made it looser to 24″ so overall as a rectangle i wanted 60″ plus hem margins [seem to be an inch per hem when i do them] by 12 inches plus hem margins. SInce the material was 60″ wide I decided to forgoe the extra inch in length… each arm was measured from shoulder to wrist with 2 inches added for seams, and around to look loosish to give me my 2 arm rectangles of 16 by 12. I have also cut out 2 6″ squares to be underarm gores [more later]!
[edited to add, I should have given more width to my rectangle!so next time I will be definately going looser!]
Hemming and Pinning
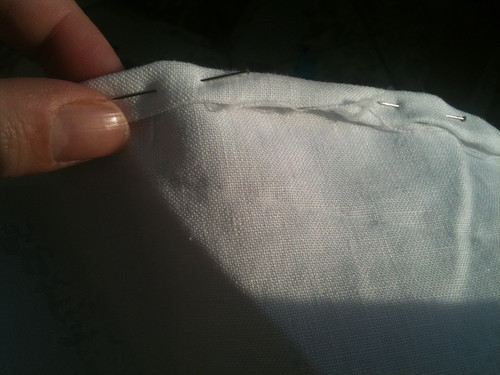
I hemmed the body rectangle along its 2 long edges having pinned first [I am getting better at straight edges, but variable still at remembering the seam allowance! luckilly not too short, and so just had to make sure they weren’t too generous!
Then I hemmed each arm on the 2 long lengths and 1 short length [ie 3 sides] Mys children were crafting with me at the same time in the conservatory, which made it very enjoyable.
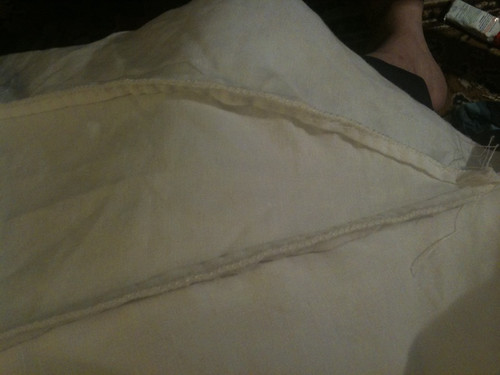
I then put 3 tucks on each sleeve as the sleeves are quite wide, and I was concerned the armhole might be enormous, especially with the square gore. [it still looks enormous, but not finished yet, so will see!]
Next time I am going to pin these so that instead of going in the same direction on my lap, the knife pleats are facing front or back on both arms, rather than one arm facing front, and the other back. I have decided this is too small a deal to unpick!
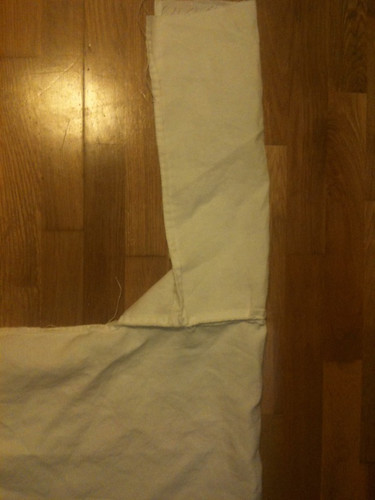
I then placed a pin at the midpoint of each longside of the body piece, and the midpoint of the hemmed short side for each arm, and lined these up.
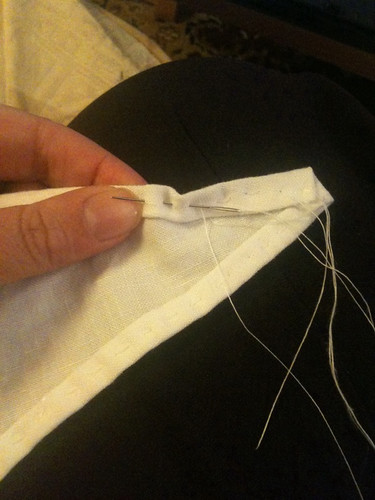
i pinned them right side to right side, with the midpoint pins lining up so that each arm was securely on, and checked that the arms weren’g going to be sewn in the wrong way round, as this is apparently a very easy and common thing to do. [and i am good at making mistakes!] . i then whipstitched the arms onto the body.
Underarm gores
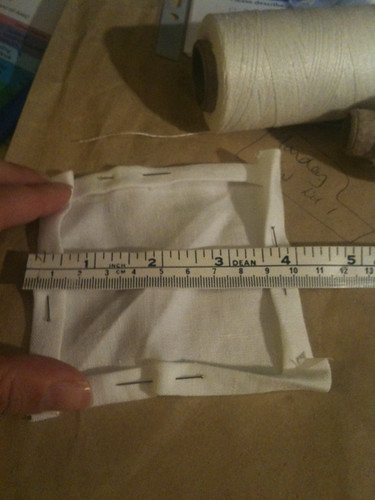
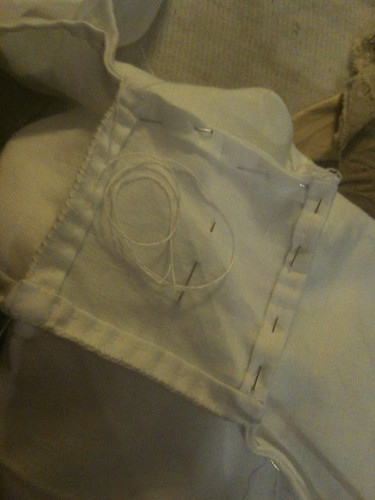
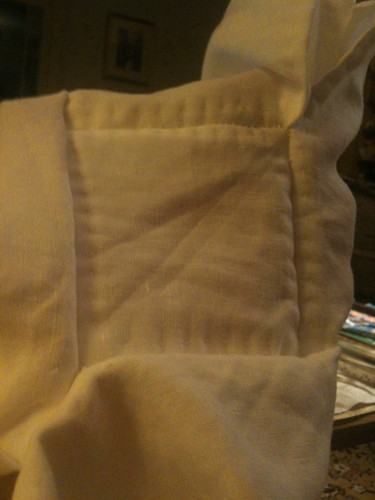
I have cut these out at 6″ as recommended for adults, but my hemming means that they are 4 ” square for sewing in.
I then used these squares to make a diamon shape under the armpit with the bottom 2 sides of the diamond being sewn to the sides of the body, and the top 2 sides of the diamond sewn to the underarm seam of the arms. Makes a lot more sense with photos!
And that is as far as i have got currently. It does seem a bit odd to have no head hole yet mind you…
side gores
Aha!! we have moved on ![]() I added hole so that BB could try on, following the steps in the tudor costume, making it 6″ transverse and 4″ vertical in the end to get over her big head
I added hole so that BB could try on, following the steps in the tudor costume, making it 6″ transverse and 4″ vertical in the end to get over her big head ![]() I identified the midpoint with a pin, and checked a few times that i had the right horizantal space too.
I identified the midpoint with a pin, and checked a few times that i had the right horizantal space too.
When i did this, i realised i hadn’t corrected either for a slight pot on tummy! so it is tight!! i therefore decided that my triangle side gores would need to start just under armpit square gores, and get wide quite quickly to allow ease of putting on and taking off. A nuisance, as i think for a young childs shift i might have got away with splits from thigh, splits from underarm prob not!! SO I cut out 2 triangle gores of length of underarm to hem at bottom, with a width of 11 ” these i whipstitched in between the side seams [obviously getting wider going down] and didn’t seam the bottom 3-4″ and left those as splits, as a young active child likes lots of skipping and running room. If necessary, i can sew it up down to the bottom if it is more authentic. I also hemmed along the bottom. It comes out as just below knees
neckline
i then carefully hemmed a collar shape around the neck area along the line of design 2 with a narrow collar. I haven’t added the collar and tie as saw children with v plain necklines, and I know BB would prefer this less fussy approach. If necessary It won’t take long to add collar and tie.
I then tacked the sleeves to where I think they should be now with a big hem tack, and then will do properly nearer the time incase arms have grown a lot longer.
SO I am calling this done for now, tho it still needs finishing touches. BB plans to wear it as a nightie for a bit to soften it down and get comfortable.
What I have learnt? to be much more generous with loose allowance next time.
having been to kentwell i have also learnt something else – you need to have the wrist loose enough to push up the arms [mine were] and ideally you want a smaller horizantal slit across the neck even if you need a larger slit down the front, as it is the back of the neck and the shoulders where your children will burn.





I am so impressed. You’re very clever
yeh, I learned the hard way that you really do need to leave more hemming allowance etc than you could think possible (and the gores on Aprilia’s go all the way up to her armpits too…. ) I am very impressed with your blossoming sewing skills – finished result looks fab and BB looks adorable in it!