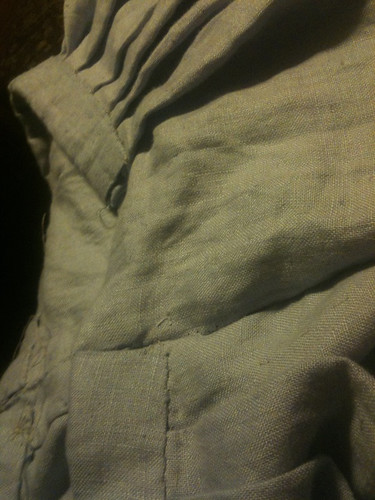
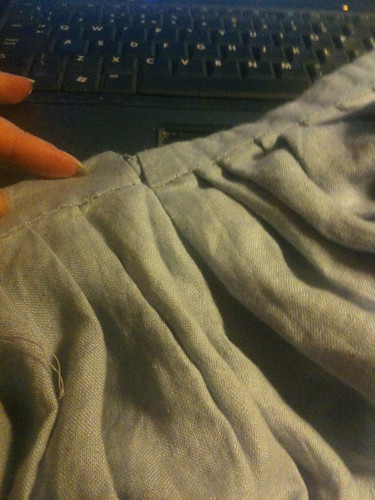
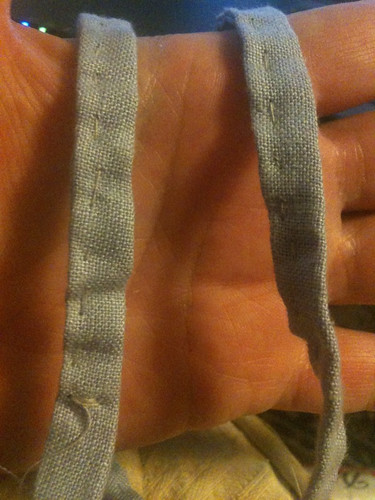
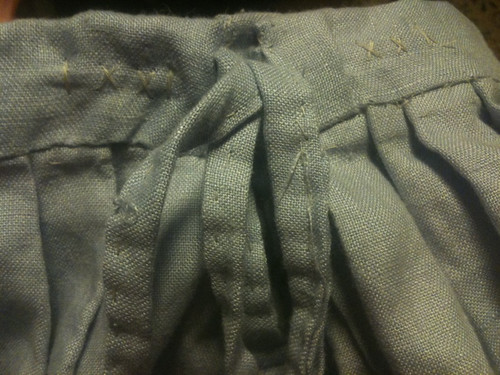
I wrote this post originally in April 2012 after we had been accepted as participants for Kentwell in their summer recreation. I only bought the wool after this point and had completed the linens previously. Buying wool for the novice is a bit of a minefield. Kentwell have elves you can send snippets to. I bought mine and SB’s wool from 2 different elves, BB and DH from a friend. colours, textures and weaves are all important. Bernie the bolt is a reliable seller of suitable wool. we were advised that the colour had to be on the farrow and ball chart, but browns, ochres, hint of sludgy greens should be more evident than they are. I had planned to be sludgy green or brown/russet. it didn’t happen that way! Wool is expensive, I was happy to do linens without knowing if accepted but wanted to be accepted before buying wool.
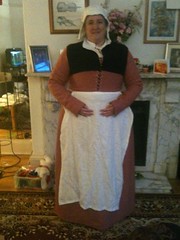
I used for my reference the Tudor Costume pages by Peronel, the Kentwell costume notes and also a bit of tudor tailor book. This means that the steps detailed here are not originating from my brain, but mixed from the others, though some of the mistakes and how to avoid unfortunately did :blush:.I made the kirtles in essentially 3 different ways. please be aware that since I have a boned bodice on my petticoat, i did not need a boned bodice for my kirtle. If you don’t have a boned bodice in your petticoat, you will need something in your kirtle and will have to look at the sources for how best to do that. I had quite a number of compliments on my ‘tudor shape’ despite being a big size, so would recommend it for those of a larger build. Boned kirtle bodices is something that i would have gone to a costume day to do. [obv i went to a private costume help for the petticoat bodice, and am v grateful for the help]. consider my blogs an adjunct to help elsewhere rather than a text in themselves.
NB Anyone thinking of making clothes for re-enactment, please check with your group the ‘rules’ on materials, colours and look. different tudor years have different styles – tho less so for poor, especially poor kids. following these notes does not guarentee acceptance of clothing by Kentwell or any other group, but may help a total novice such as myself. I had never made any clothes before these – a hint of my novicitude.
Materials
I had 2m of blue wool for bb, from which I got all the kirtle including sleeves and some spare, and I had 3m for BB, with enough spare to replace sleeves or bodice if required. I had 4m for myself and also left over enough to replace bodice or sleeves. most average size women will not need more than 3m. You also need an identical amount of linen to line – BB was lined for bodice and sleeves in the blue lining of her petticoat, SB and I were both lined in green linen in entirety.
Method 1 – BB’s kirtle
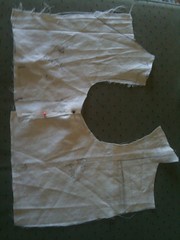
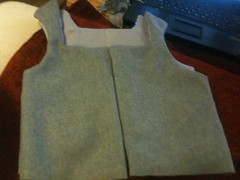
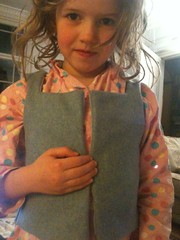
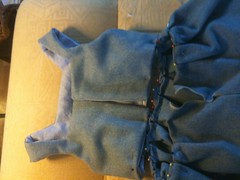
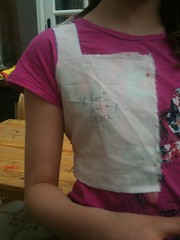
BB was hard to make a toile for, she is 7, she doesn’t like being still, she doesn’t see the point and she dances about. SO i did a very quick version toile, hoping to catch the essence as being only 7 it doesn’t have to be so tight fitting. The kentwell advice is for kids to have the waist slightly higher as it doesn’t impede movement so much. it also suggests interlining and supporting bodice. However, since BB wool thick, i decided not to bone but did add a canvas interlining. Having made a rough toile and then marked out in pencil better shapes, i did another toile in the lining linen and tacked together how it should go, bribed bb with chocolate to put it on and then let me just repin bits for a better fit. The neckline at the front perhaps a bit high, but no bad thing for a child, the straps perhaps a little bit on the thick side, but wanted then to be comfortable – anyone following this may wish to adjust!
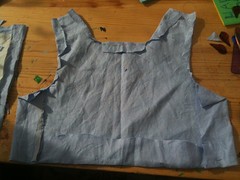
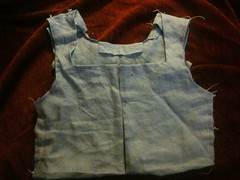
being happy with this, i then cut out the wool – note that i remembered to cut on the fold at the back so no central seam – see I can learn ![]() . I also cut both wool and linen to have a larger seam allowance under the arm seam, so that in the future i can let out, and also at the waist. but it is ok for the waist to ride a bit high, and you can add a panel strip to each underarm, or one to make a back extensions quite reasonably, as tudor kids often had cut downs and refashioned if not rich. too big an excess would be uncomfortable. I sewed the interlining canvas onto the linen lining. i then sewed with right sides insides the armholes, top and side seams together [ like pourpoint/partlet] and then turned so right side out, checked against daughter and then inverted the bottom to make a good seam and whipstitched along the bottom, whipstitched/ladder stitched the shoulder straps together in 2 parts and the side seams – exactly as did pourpoint and partlet . I the tried on her with fingers crossed and was happy with fit.
. I also cut both wool and linen to have a larger seam allowance under the arm seam, so that in the future i can let out, and also at the waist. but it is ok for the waist to ride a bit high, and you can add a panel strip to each underarm, or one to make a back extensions quite reasonably, as tudor kids often had cut downs and refashioned if not rich. too big an excess would be uncomfortable. I sewed the interlining canvas onto the linen lining. i then sewed with right sides insides the armholes, top and side seams together [ like pourpoint/partlet] and then turned so right side out, checked against daughter and then inverted the bottom to make a good seam and whipstitched along the bottom, whipstitched/ladder stitched the shoulder straps together in 2 parts and the side seams – exactly as did pourpoint and partlet . I the tried on her with fingers crossed and was happy with fit.
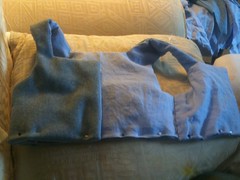
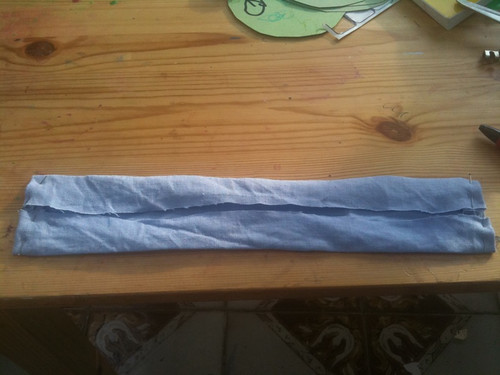
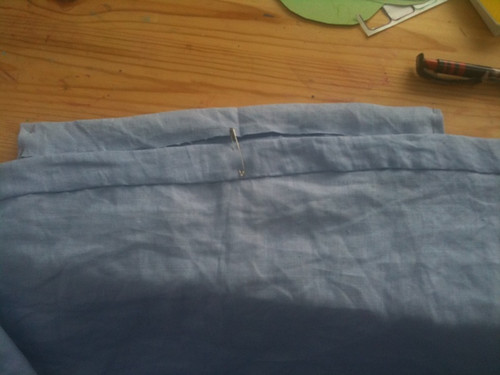
Phew! I then cut out the skirt of the kirtle as one large rectangle that is going to meet at the middle I want it to finish just above the ankle but also have some growth so i add 3 inches to waist to ankle measurement.as a child it can be mid calf, so this should see us for a few years with some letting out. This isn’t lined, so I hem all round the bottom and the top. I don’t do the sides as these are a selvedge ![]() so I have just backstitch handsewn these together to make a tube, but finished 4-5 inches short of top, as this will be the opening to get it on and off when attached to kirtle bodice.
so I have just backstitch handsewn these together to make a tube, but finished 4-5 inches short of top, as this will be the opening to get it on and off when attached to kirtle bodice.
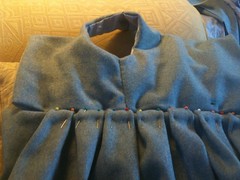
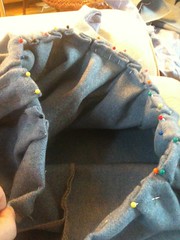
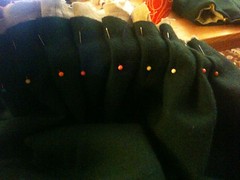
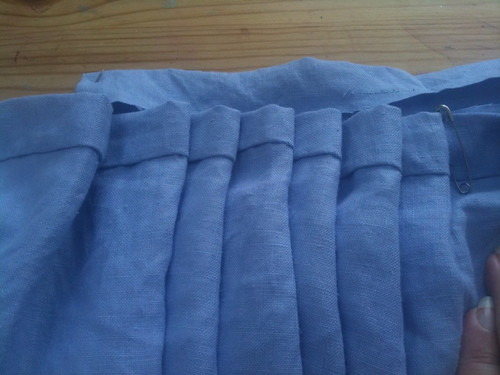
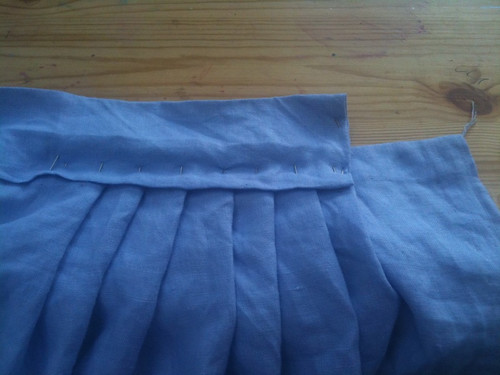
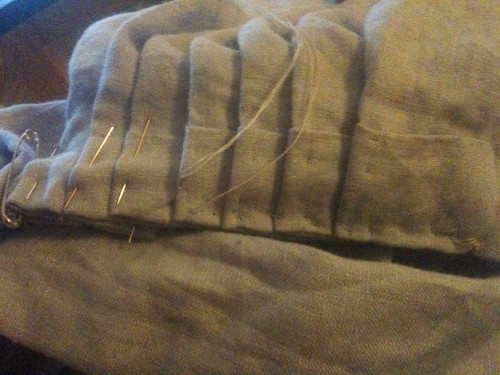
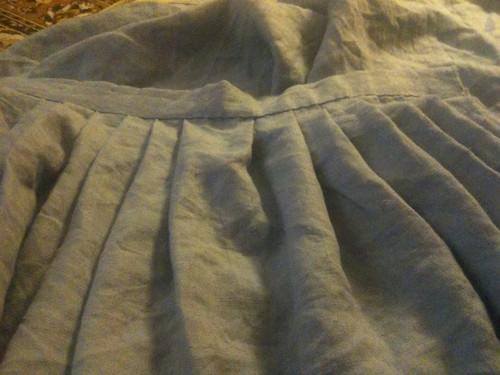
Then I get to the serious business of pleats – I have box pleated and used the kirtle bodice to work out the pleating, leaving an unpleated panel at the front. What i should have done is not sewn up the kirtle skirt and done this flat, and not sewn up the bodice shoulders so that this could also be flat. i then should have learnt from this mistake for next time. but i didn’t. hopefully no one else will make this mistake! Happy with my pinned pleats I whipstitched all along the top to hold them into position. I have a box pleat either side where the bodice side seam is that I can undo when i need to make the waist bigger rather than taking the whole thing off.
I then whipstitch in 2 layers very firmly with doubled over thread the skirt to the bodice
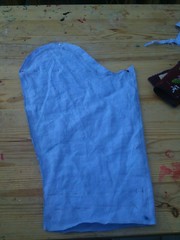
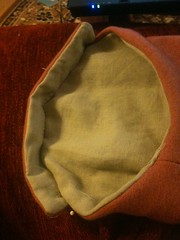
sleeves are next. Tudor sleeves have the seam at the back. There are quite a few complicated diagrams for getting it right. I am, unfortunately, a bit of a bodger! so I measure distance between shoulder and underarm, distance around top of arm, distance around wrist and length of top arm to wrist. I drew a trapezoid shape for upper arm to wrist with these measurements without the seam allowance and then drew a sine wave on top such that the nadir hit the trapezoid 1/4 way along. I cut this out x 2 in linen and x 2 in wool. i forgot to add growth to wrist, and they were slightly tighter than planned. Add a lot of seam allowance to sides! length not such a problem as can add a band to them as she grows if still fit, or make new sleeves. I then sew together the sides of each tube, so i have 4 sleeve tubes. I then place right sides together of linen and wool tubes with the linen outside and the wool inside. I backstitch around the top hole at the seam allowance, snip triangles so it will turn and then turn the linen over so we have the seams all hidden. I fold in at the bottom of the sleeve and carefully stitch around that.
for adding the growth tuck I completely mistook one of the elves and sewed the tuck so that it went inwards and the line shew on the outside. she had meant the tucked material to stick out. I could cover this line with decorative braid, but I haven’t.
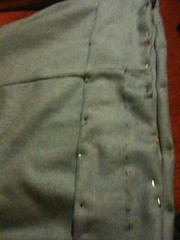
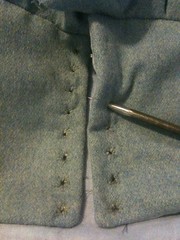
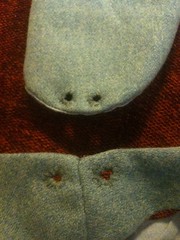
eyelets are a pain. You need to do loads of them! so you either need a broad awl and then pop a pencil through to widen it, or get a wide screwdriver sharpened to a point to stick through. this doesnt cut the material but stretches a hole. then you sew madly and quickly around to hold the hole open. The sleeves should be pointed to the shoulders with lucetted cord by at least 2 points if not 3, but her shoulder is small, so we just used 1
And there you go, one kirtle ![]()
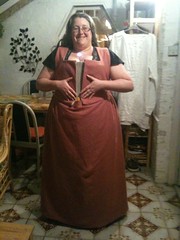
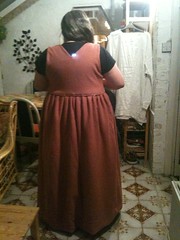
method 2 – pinkish kirtle for me
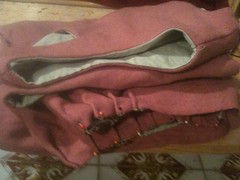
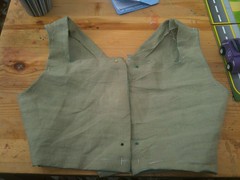
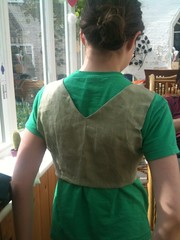
so having made BB’s successfully all hand sewn, mine I had advice from the fab woman who helped [coaxed and cajoled] me through my bodice, and she makes kirtles differently, so I did it her way. And, because her time is v precious, I used the sewing machine for some of it!! She gave me barbie pink wool to dye, i threw loads of brown at it, it came out ‘porphyry pink’ on the farrow and ball chart. a bit errr, and not russett, but hey! [nice clash with petticoat and lining!]. ANyway, she made the bodice toile for me, as it is impossible to make your own toile . i have kept it safe! I cut out the bodice with the linen and then the wool. I used no interlining or boning, since supported with bodies on petticoat underneat. This time I sewed all the linen panels together – ie at the side seams, the wool panels together – at the side seams. I then put right side to right side and pinned carefully and sewed around arm holes and the neck holes leaving the front undone and also the bottom edge. I tried this on over my bodice so as to get the opening lying right, pinned it and then sewed this, leaving the bottom edge unsewn.
The skirt is a large rectangle, of height from waist to ankle plus seam allowance, and the width was 2m30cm .I then sewed my lining to the wool as a ‘bag’ ie sewed around three sides with right side to right side and then turned inside out. this gave me the hem and also the 2 short sides to whipstitch together. I then did whipstitch these together, forgetting it was easier entirely to do all the pleat pinning with flat material not a tube – sigh!
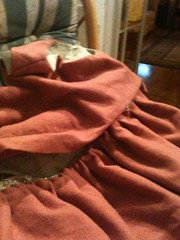
for the skirt, I placed the seam at the side and then pinned knife pleats facing backwards from in line with shoulder strap each side meeting at back. I had some bagginess along the front so that this will get on and off without the kirtle skirt having an opening.
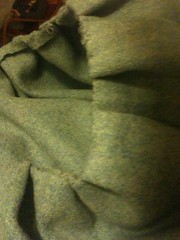
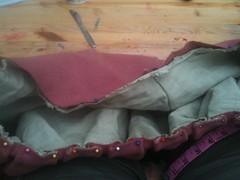
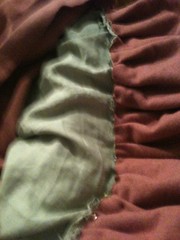
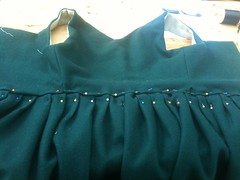
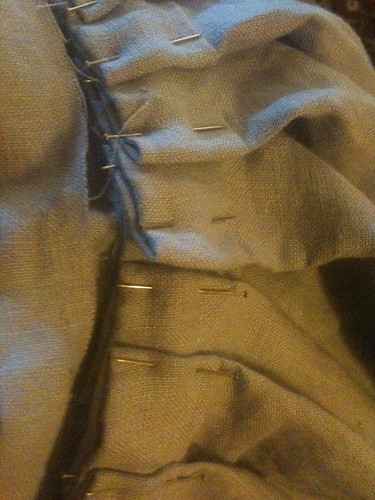
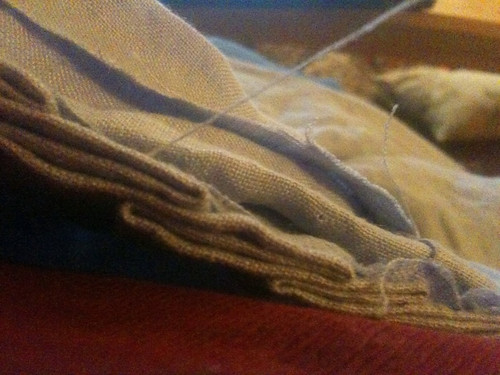
At this point the bodice and kirtle are 2 separate things. now comes the interesting part. i didn’t get the best pic either. Just like the bodice on the petticoat bodies, i am going to pin on and the sew the kirtle skirt to the lining. so i turn the kirtle skirt so that the unhemmed top seam is running against the unseamed bottom seam of the kirtle. this means that for both the waist is at the top end, and the toes of skirt and the neck of bodice are at the bottom end of your material on the table. the right side of the bodice linen is against the right side of the skirt linen. the bodice wool is pulled away so you don’t catch it in your pinning, and the skirt wool is included in the pinning. [ so it goes - wool of bodice pulled out of way/ linen of bodice/linen of skirt/wool of skirt] pin this together and then sew twice along this with sewing machine as long as your sewing machine is heavy duty enough to go over all of this fabric. May be easier to iron first [no plastic headed pins! - yes, i did make that mistake too] sew from first pleat to last pleat, but leave the kangaroo pouch looking bit of kirtle skirt unsewn.
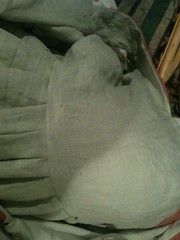
so, with 2 lines of sewing to hold this nice and firm at the seam allowance part, when you swing the bodice up so that you have a kirtle, the wool front will fall over your visible seam allowance, ready for the seam to be rolled under and hand stitched. so if you look the inner looks good, you can’t see the machining on the linen side.
so i then pinned the wool of the bodice to the wool of the skirt and tried it on to make sure all well. also at the bodice between front pleat one side to front pleat the other side the bodice and kirtle aren’t joined, so these need turning in also and sewn over closed.
sleeves were pretty much the same, tho i had an extra tab bit which holds them better. This turned out to be contentious, so don’t do it, do yours like BB’s! at the wrist end i had a slit for a button and loop, but actually i often wore the sleeve with revers, which looked well enough.
the final job was all the eyelets. we did spiral lacing spacing at the front from the zen of spiral lacing we page [now taken down!] and 2 pairs of eyelets sleeve to shoulder
method 3 – sb’s kirtle
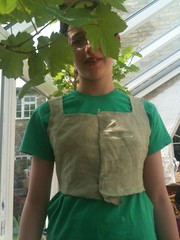
actually this was mostly made similar to mine, but without the kangaroo pouch at the front! instead the skirt seam was at the front and had a small opening at the top. also it has a single reed at each side at the front opening so the spiral lacing holds well. no other boning. It also has canvas interlining as the wool more flexible than BB’s
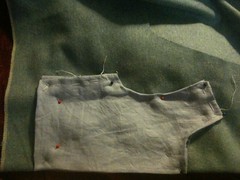
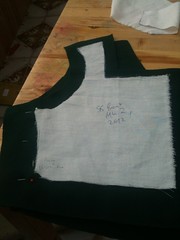
anyway, i started with a toile and then cut out of linen, sewed up and made sure happy with this. i then added the canvas interlining with a stab stitch.
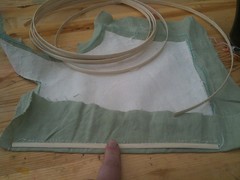
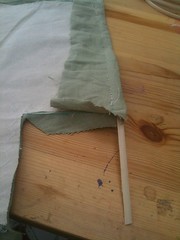
I added the reed support to the front closure [same reed as my reed bodice on petticoat]
then used toile to cut out wool and sewed up side seams of the wool and then right side to right side, sewed the wool and the linen together
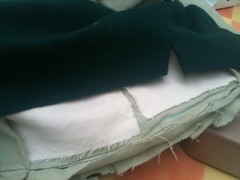
this shows better how i attached the kirtle skirt to the bodice. you can see how all the material is lying together when pinned kirtle skirt against the linen of bodice. I did again 2 sewing lines joining the kirtle skirt to bodice linen to make it strong. The skirt i did as a rectangle bagged, exactly as mine was made using the same measurements of 2m by waist to ankle plus seam allowance.
sb then tried it on so that we could make sure that the pinning of outside wool looked good – and in fact i did adjust it.
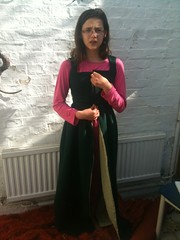

then sewed up the front slit
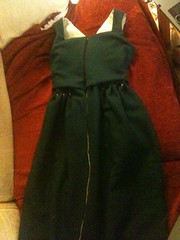
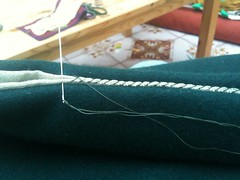
final touches were eyelets for spiral lacing and then sleeves and 2 pairs eyelets made along the lines of BB’s. I also did a tuck to take the length to above ankle like i did BB’s.
i hope that is all clear?


